Showing posts with label celebration. Show all posts

Wednesday, June 19, 2013

Edible Cupcake Decorations (Using Wilton Candy Clay)

So it’s just one more excuse. But I swear this time it’s a worthy excuse…

As of April 19th, I officially became Mrs. Bleu. 
with the best man, Tsavo, in the background
We had a terrific ceremony at the Fort Worth Zoo. A little bit flash mob. A little bit geeky. And a whole lot of love.


But the real star of any family shindig is always the food. We’re pretty big fans of eating around here. Of course we took our family to eat dinner.

However, weddings are really about the cake. Don’t get me wrong—the bride and groom are pretty important. But if you’re celebrating with your friends, you already know they love each other… So don’t lie, you’re there for the cake.

Naturally, I made our cakes. Nothing fancy, just some vanilla cakes with vanilla buttercream and chocolate cakes with dark chocolate frosting.  What made them fancy enough for our family were the decorations.


My aunt brought me this Rycraft Cookie Stamp  after she learned about us getting married in the zoo. We knew we were doing the ceremony in front of the lion exhibit. I knew we would be doing cupcakes (not cookies), but I also knew I just had to find a way to use it. 


I started hunting for some way to make a cupcake topper and I wanted it to be completely edible. I thought about just making some cookies, but I’m really not a cookie maker. I always burn them or make them tasteless. I ended up looking for tips on using gum paste and fondant, thinking that I could just buy a tub of the stuff and make it work.

Have you eaten any of those tubs of fondant? They taste like… Well, they taste like nothing. I’m not a fan. But everyone uses fondant. (I know that homemade marshmallow fondant is delicious, but I’m too lazy to make it.)

Then this post by Sweetapolita gave me an idea: Wilton Candy Clay medallions.

WiltonCandy Clay is seriously easy to make. Like two ingredients and a microwave easy. It works like modeling chocolate (at least that’s how it’s described). You mix it up, let it set, and then roll it/mold it how you want. The hard part is picking a color of Candy Melts to use.

We didn’t really set a color scheme for our wedding. I wore teal. I made gold, grey and ivory flowers. I used dark coral for an accent. Do they even make candy melts in those colors? Did I really need five shades of medallions? I obsessed over the color to use for ages. And when I finally decided what colors to use, we headed to the store. Then I found these…


Oh, yeah. They come in three delicious flavors: key lime, orange crème, raspberry sherbet. Just add corn syrup and hello flavored modeling chocolate!

I actually used about a tablespoon less corn syrup than the recipe calls for. I was trying to make sure that it was going to produce a firm enough ball of chocolate. I probably could have used even less. After letting the chocolate set overnight, I portioned it into 10 gram balls. (I was being a bit of a perfectionist.) Using my seasoned Rycraft cookie stamp (dusted in a bit of cornstarch), I simply pressed my way to chocolate medallion bliss.


I allowed the medallions to sit in a chilled box until right before serving. Even though it was chilly for most of the day, I was afraid the buttercream might make them sweat or they would get too soft. I have no clue if this really happens; I only think it might have happened.

The lions were a big hit. We shared them with family at the restaurant and later with friends at a bar. Everyone loved them.

 
Happy two month anniversary to the weirdo I married!
the new and even weirder,
mrs. bleu

Wednesday, March 7, 2012

Peanut Butter Birthday Overload

Birthdays always require dessert.

Sometimes it's a colorful dessert.

Sometimes it's a simple dessert.

But sometimes... sometimes it requires a Peanut Butter Overload.


These cakes might sound really complicated but they really aren't. I made two batches (without doubling the recipe), filled and frosted them in about 4 hours. I ended up with almost 5 dozen cupcakes. But don't worry, you will want extra of these beauties. 

I admit I'm not always a "from scratch" baker. These cakes start with a doctored up cake mix. I decided to go this route because I'm still hunting for the PERFECT chocolate cake recipe. I needed these cakes to be moist and hold up for a day or two before delivering them.


Peanut Butter Chip Chocolate Cupcakes with Peanut Butter Cookie Dough Truffle Filling and Peanut Butter Buttercream

Part I: Peanut Butter Cookie Dough Truffle Filling
adapted from Crazy for Crust

Ingredients 
1 cup creamy peanut butter
3/4 cup granulated sugar
1/4 teaspoon pure vanilla extract
1 tablespoon milk

Method
Mix everything together until smooth and dough-like. Roll teaspoon size balls between your palms. Place on a cookie sheet and chill in refrigerator until needed in Part II.

Yield approx 5 dozen teaspoon sized balls


Part II: Peanut Butter Chip Chocolate Cupcakes
unknown origins, used by many

Ingredients
1 package Devil's Food cake mix (with or without pudding in the mix)
1 package instant chocolate pudding
1 cup sour cream
1 cup vegetable oil
4 large eggs
1/2 cup warm water
1 cup semi-sweet mini chocolate chips
3/4 cup peanut butter chips

Method
Preheat oven to 350 F. Line muffin pans with paper liners.
1. In bowl, combine cake mix and pudding mix. 
2. In separate bowl, combine remaining ingredients (minus chips). Whisk until smooth and no longer separated (3).
3. Add to dry ingredients and combine until just mixed, about 30 seconds. Increase speed to medium and stir for an additional 2 minutes.
4. Scrape bowl sides and stir in chocolate chips and peanut butter chips.
5. Using a disher (#16 or #20)for even cupcakes, scoop into prepared pans. In the center of each cupcake, place one truffle (from Part I). Push into cupcake until at least 3/4 covered in batter. Drop pan on counter to settle the truffle and help remove any large air bubbles.
6. Bake on middle rack for 15-18 minutes. Check with a toothpick being careful not to insert into the truffle.
7. Allow to cool for 2 minutes in pan before inverting and allowing to cool on wire racks.
yield approx 18-20 cupcakes based on size of disher used.


Part III: Peanut Butter Buttercream
adapted from My Baking Addiction

Ingredients
3 sticks (1.5 cups) butter, room temp
1 cup creamy peanut butter
1 tablespoon pure vanilla extract
2 pounds powdered sugar, sifted
6-8 tablespoons heavy cream

Method
1. In bowl of stand mixer, combine butter and peanut butter on medium speed until pale and creamy (2).
2. Add entire amount of sugar. Mix on low (it will create a dust cloud if you go too fast) until combined (3).
3. Add vanilla and 4 tablespoons cream. Turn speed to medium and mix for 1 minute. 
4. Add more cream, tablespoon at a time, until desired consistency. 
5. Beat on high for 4 minutes. Put in a piping bag fitted with a large star tip (Ateco 808).
6. Pipe a generous swirl of frosting on each cake. If using sprinkles, make sure to put them on quickly as this frosting does crust.


This little baby cake is really a Reese's Peanut Butter Cup Miniature topped with a swirl of Peanut Butter Buttercream. I <3 edible toppers.

Happy Baking!

Bleu


Thursday, March 1, 2012

Ladies Night Out

So, how many new moms do you know? 

My best friend had her baby boy five months ago. That's five months that she's been at home, learning to be the best new mommy and talking baby talk. She thought she needed a night out. 

We all agreed.


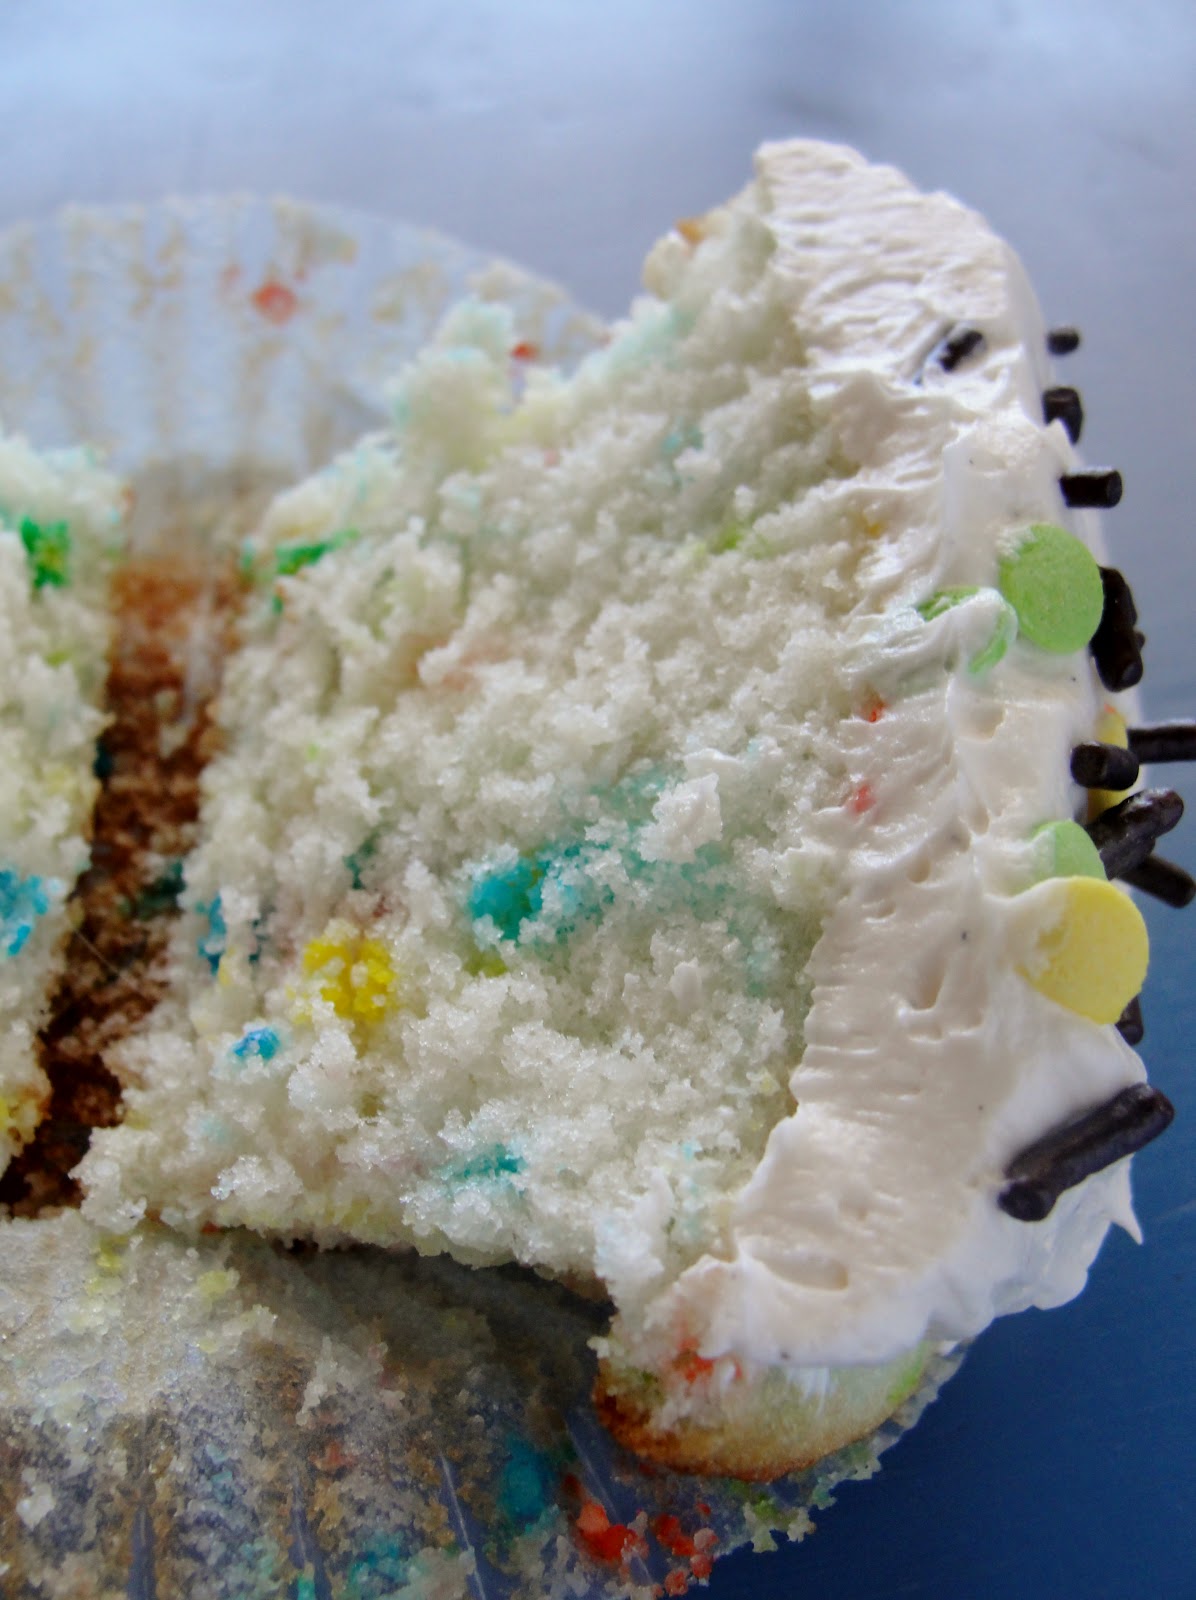
And who doesn't like Funfetti Cupcakes?


These were perfectly moist, super fluffy. My only complaint was that I was out of confetti jimmies. So I used nonpareils. They totally smeared their colors... Don't worry though. That didn't stop them from being eaten!


I used Sweetapolita's Funfetti Layer Cake with Whipped Vanilla Frosting. I didn't alter her cake recipe except to make it into cupcakes. I use an ice cream scoop disher- it's aproximately a #20- but it can be VERY uneven in dishing out batter. (I've got a few on my wish list and my birthday is coming up...in four months) Bake at 350 F for about 15 minutes. I think one tray took 18, so check them with a toothpick if you are worried.

I also used Sweetapolita's Frosting. However, I altered a bit, so I've listed my version here for you.


Vanilla Bean Buttercream
adapted from Sweetapolita

Ingredients
3 sticks + 2 tablespoons unsalted butter, softened
3.5 cups powdered sugar, sifted
3 tablespoons heavy cream
1 tablespoon pure vanilla bean paste 

Method
1. In the bowl of an electric mixer fitted with the paddle attachment, whip butter for 8 minutes on medium speed. Butter will become very pale & creamy.
2. Add sugar and cream and mix on low speed for 1 minute, then on medium speed for 4 minutes.
3. Add the vanilla bean paste and mix on high speed for 2 minutes. Frosting should be light, fluffy and very creamy. 

This frosting is great for piping. Just use a spatula to remove any air bubbles before putting in a piping bag. 

Cupcakes are best stored at room temperature, in a caddy or covered dish. If you need to refrigerate, bring them to room temperature at least 2 hours before serving.  
 Enjoy, enjoy, enjoy!

bleu