Showing posts with label brown sugar. Show all posts

Saturday, March 9, 2013

Salted Caramel Chocolate Cupcakes

Happy (early) St Patty’s Day!

I know, I know.

March is supposed to be about Leprechauns and turning everything green and pretending you’re Irish.

But I didn’t want a green cupcake. I didn’t want green frosting. I’m already Irish (remember those Guinness Spice Cakes?) so I went a complete different route.

I went for the pot of gold.


I went for caramel.

Ooey, gooey, SALTED caramel.

Inside a super moist chocolate cupcake.

Topped with the absolute best brown sugar Swiss meringue buttercream.


My biggest regret in this is that I did not take a picture of the inside. I always take a picture of my filled cakes. But with these cakes, a silly little problem kept happening…

I would take my picture. Grab a knife. Accidently touch the frosting. Go to lick the frosting from my finger. And end up devouring the whole cupcake.

Like seriously. Happened twice. Then I gave up.

So you have to take my word on how gooey this caramel is. It’s a touch thicker than store bought sauce, but not quite to the caramel chew stage.

I did have to thin this recipe out. I originally cooked it to the specifications. Then I let it sit overnight.

When I went to try it the next day, it was solid. Like cut it into cubes and wrap ‘em in wax paper solid. But so DELICIOUS! I would scoop a nibble and walk away.

Then I’d think of some reason to go check on it again. And take another scoop. And maybe that happened a few times.

Then I decided it would be too thick in a fluffy cupcake.

I don’t know if there is really a good way to reheat a homemade caramel. You might have experience with this. I mostly just make everything up and hope for the best.

Through careful deduction and thoughtful deliberation, it was determined that a double boiler would heat it slow enough that it would not burn the caramel. So I tried it.

It worked. Slowly. So slow that I had to help it along. I used my electric tea kettle to boil some water and added that to the caramel. In total I used about 3/4 of a cup of water, added one tablespoon at a time.

For the sake of full disclosure, let me add that while I didn’t notice it at the time (or even the next few days that I was scarfing down these cupcakes), I think the water additions caused the sugars to crystalize. I saved the extra sauce in a squeeze bottle (Hello Ice Cream!) and now it’s a bit grainy. Granted, it could be the sitting on the counter that did it. Or the slight reheating I would do to cover that ice cream.

But it’s no biggie to me. It’s still CRAZY GOOD!

Salted Caramel Sauce
(recipe from a Cake Central forum)

Ingredients:
1 cup (2 sticks) unsalted butter
2 cups dark brown sugar, packed firm
1 cup light corn syrup
1 can (14 oz) sweetened condensed milk
2 tablespoons heavy cream
2 teaspoon vanilla extract
1-2 teaspoons salt

1. Combine butter, sugar, corn syrup and condensed milk in a medium heavy bottomed sauce pan set over medium heat. Stir constantly.
2. Bring to a boil before adding cream. Attach a candy thermometer to the side of the pan. Remain stirring.
3. Allow caramel to reach 230 degrees. Remove from heat and stir in vanilla extract and half of the total amount of salt. (How much salt depends on your taste and the type of salt used. I used kosher salt. And I ended up using two heaping teaspoons. But I like salt.)
4. Pour caramel into a glass bowl. Allow to cool at room temperature. Taste the caramel. Add remaining salt and stir well. Cover tightly and store. If stored in the refrigerator, allow two to three hours to return to room temperature before filling any cupcakes. It can sit at room temperature for several days.

For the cupcakes pictured here, I baked my favorite scratch chocolate cake recipe and made this brown sugarbuttercream.
I used a size 100 disher to scoop out the middle of a cooled cupcake. (This did get messy and required a lot of quick washes about every 4 or 5 cupcakes.) I then used the same disher to scoop caramel into the hole created. Using a Wilton 1M tip, I piped a swirl of frosting on top to seal the caramel in.
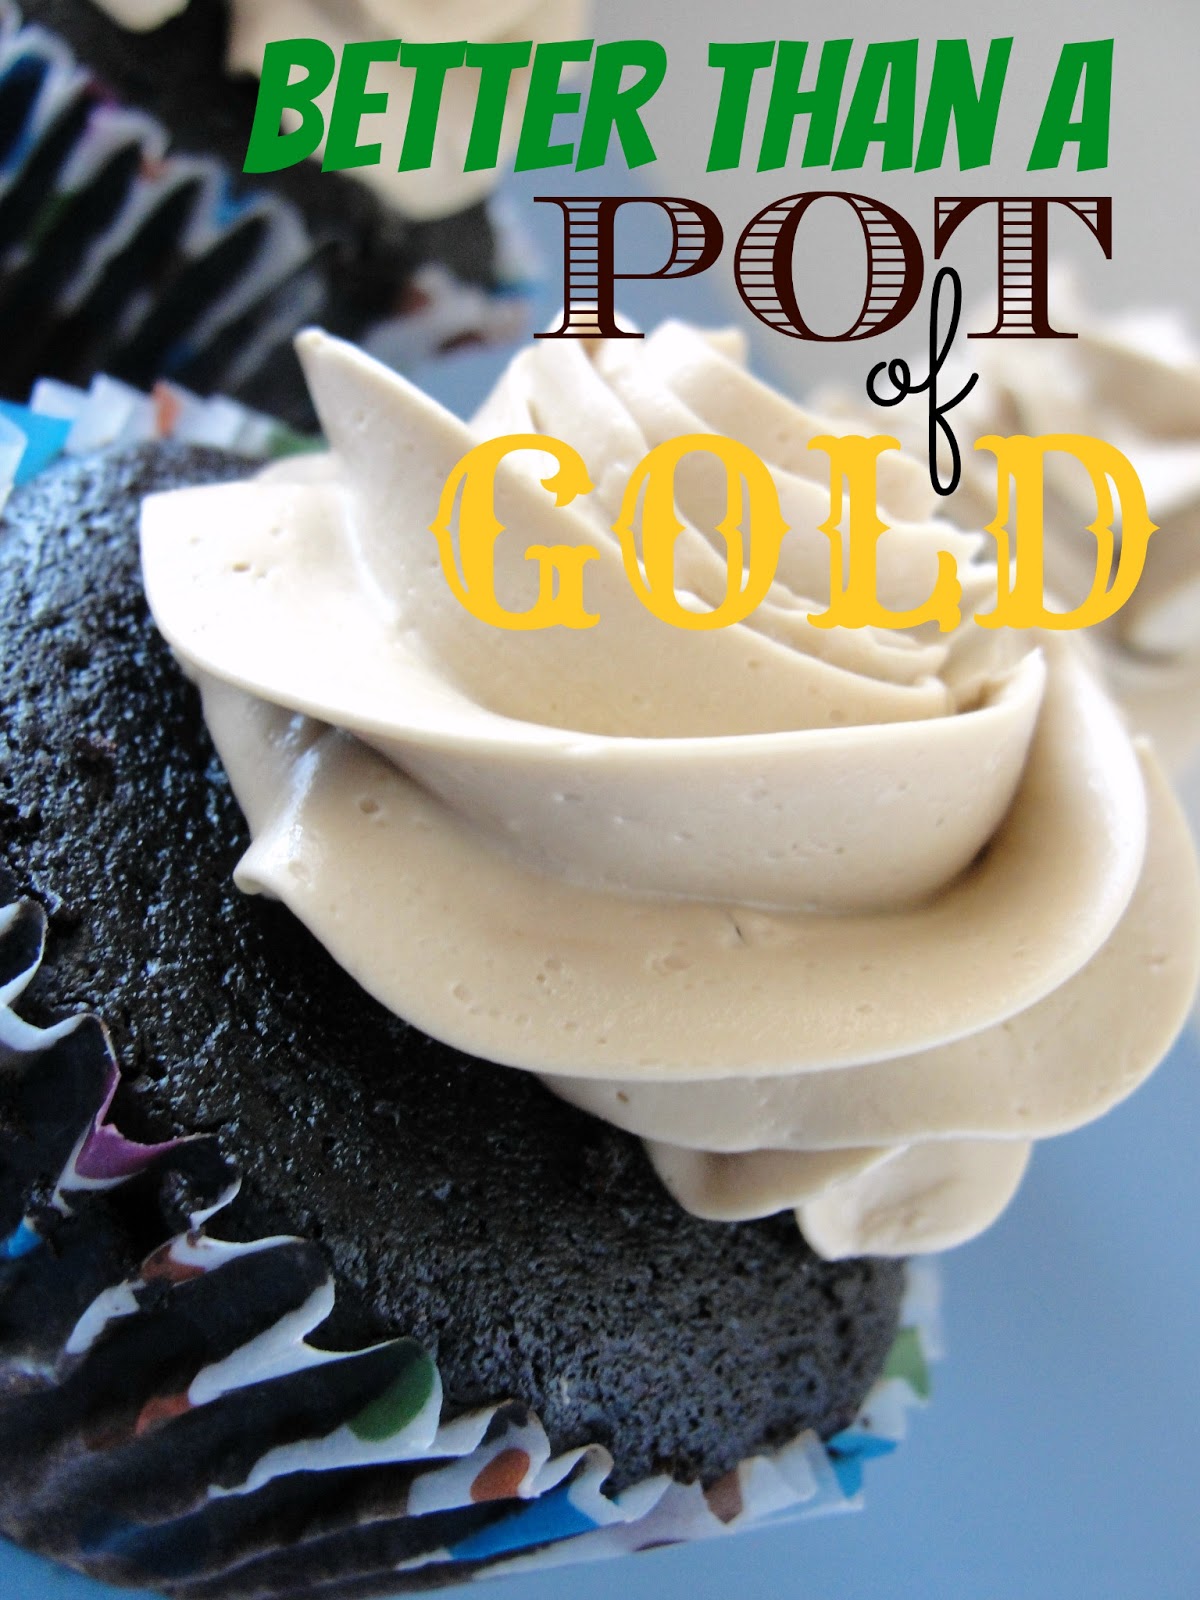


So this Saint Patrick’s Day, make something to wash that icky green beer taste away. Besides, it’s all about the pot of gold anyways.

Sláinte!
bleu

Monday, July 2, 2012

Pineapple Cake and Independence Day

Who loves Pineapple Upside Down Cake?

This iconic treat has always been one of my favorites. Truly, I love the little maraschino cherry and candied pineapple more than the cake.  And we all know how much I prefer to make tiny portable cakes over big fork-n-knifers.  I also prefer to have my cakes in handy dandy paper wrappers.

This is my version. Another classic combination, gone bleu...


Pineapple Right-side Up Cupcakes...


Full of all that you love (yep, that's a candied pineapple center) and topped with my newest favorite Swiss meringue buttercream (and a maraschino cherry of course).

This cake combined a traditional butter cake with my great-grandmother's Pineapple Cake recipe. Granny's cake used a box mix, this filling and her 7 Minute Frosting. I really, really wanted to put a 7 Minute Frosting on these cakes, but I wasn't even going to whisk it up by hand (for real, I don't own a hand held mixer). I repeat that I'm a sugar addict. Seven Minute Frosting is SWEET. But delicious. But sweet, sweet, sweet... So as much as I want to try it that way, I think we should stick with the Swiss meringue buttercream.

This was also the first time I've ever baked a cake that used margarine. I've used margarine in cookies and things, but never cake. I'm such a huge fan of eating creamed butter and sugar straight out of the mixer that I try to find ways to make food with those two ingredients. (Wait... did I really just admit that to all of you? Meh. You already know I'm an addict...) I want to try this cake with butter, but know that even with margarine, this cake was super moist, had a gentle crumb, and was really flavorful.

So, enough with the chit-chat... On with the cake!


Pineapple Right-side Up Cupcakes
adapted from my great-grandmother, Atha Taylor's personal collection of recipes

For the cake:
2 1/3 cup all purpose flour
1 tablespoon baking powder
1 teaspoon salt
1 20 ounce can crushed pineapple in juice (*directions below)
1 cup milk (slightly less)
2/3 cup margarine
1 2/3 cup granulated sugar
3 large eggs

1. Prepare canned pineapple. Drain and reserve the juice. Remove 1 cup of drained pineapple for cake. Keep the remaining pineapple with 1/2 cup juice for the filling. Put the remaining juice  in a 2 cup measuring cup and add milk to total 1 1/4 cup.
2. Combine flour, baking powder and salt in a medium bowl.
3. Cream margarine and sugar until light and fluffy. Add eggs, one at a time, mixing well between additions. Add flour in three additions, alternating with milk, starting and ending with flour.
4. Scrape bowl well and add pineapple.
5. Fill paper liners about half full and if you're lucky, pop 'em into one of these:
(this was one of my Christmas presents... CupCake Genius) Bake at 350 F for 20-23 minutes. Allow to cool completely before filling.

For the filling:
Reserved crushed pineapple and juice
3/4 cup brown sugar 

1. In a small sauce pan, combine pineapple and sugar. Cook over medium heat until pineapple is "candied" -- thick sauce, clear fruit. 

2. Remove from heat. Allow to cool before using.

To assemble:
 Create a hole in the center of each cupcake using a paring knife or apple corer. Fill with about 1/2 teaspoon of the candied pineapple. Top with a swirl of brown sugar Swiss meringue buttercream, a maraschino cherry and a bit of pineapple.


Enjoy this retro favorite!

And Happy Fourth of July!!
bleu

Monday, June 25, 2012

Beer, Bacon and Cupcakes

I have a strange fascination with trying to put my favorite flavors into a cupcake:

I've made a Honey-Almond Cupcake just because I loved the scent of a Honey Almond Latte at work.

I've combined jalapeno with lime in a delicious but not too savory cake...

Rich milk Chocolate with Fresh Strawberry Buttercream (and jam center)...

Spice cake with Apple filling and Cinnamon Buttercream...

I just created my ultimate combination though:  Guinness and Bacon. Oh, and Brown Sugar Swiss Meringue Buttercream. 
Guinness Spice Cakes with Brown Sugar Buttercream and Candied Bacon

I think most people have heard of a chocolate stout cake. I love chocolate, but I wanted a cake that didn't hide the wonderful taste of Guinness. Guinness is always described as having chocolate-y or coffee-y flavors. I'm not paid for my opinion, but I have always tasted a sweetness and rich, vanilla notes in a Guinness. I thought it would go perfect with spice cake. 

Oh, boy, did it ever!! 


These cakes have all the great flavors of the best winter cake paired with the light, creaminess of a pint of Guinness, complete with a mild yeast-like bitterness on the back of the tongue. Top it with the a dark brown sugar buttercream and candied bacon, it's love at first bite.

These cakes super easy to make. So easy it's almost intimidating. The hardest part is waiting for them to cool. But don't stress that too much-- melty brown sugar, butter and bacon on a super moist spice cake... Is anything wrong with that?


Guinness Spice Cakes with Brown Sugar Buttercream and Candied Bacon
(uses a spin-off of the famous Weight Watchers Diet Soda Cake. Frosting from Martha Stewart)

For the cupcakes: (YIELD 14 CUPCAKES)
1 box spice cake mix
1 bottle or can of Guinness Draught (you need 10 fl oz, not including the head)

(this is so easy, I almost feel like I'm cheating you...)
1. Empty cake mix into a medium bowl and use a whisk or your fingers to break up any big lumps of mix.
2. Pour the Guinness into a glass measuring cup, using the side to keep the head to a minimum. Canned Guinness Draught uses a widget, so you must measure it first or you will end up with a minor explosion of Guinness in the bowl, but bottled draught can be just poured in slowly. (I just kept a sip or two for myself out of the 11.2 fl oz draught bottle)
3. Mix thoroughly, but some lumps will remain. 
4. Dish into paper lined cups and bake for about 18 minutes in a 350 F oven.
5. Allow to cool completely before frosting.

For the bacon:
2 strips of thin sliced, plain bacon
4 tablespoons of brown sugar
spices to taste (optional)

1. Preheat oven to 400 F. Place a wire cooling rack on a sheet pan lined with foil. 
2. Divide the brown sugar in half and press onto one side of the bacon. Lay bacon sugar side up on wire rack.
3. Bake for 20 minutes, ignoring the burning smell of sugar, but checking for any flare-ups. If the bacon is crispy enough, pull it now. If not, let it bake for 5 minutes at a time until crispy.
4. Allow to cool completely before giving it a rough chop.

For the frosting: (YIELD 5 CUPS)
5 large egg whites 
1 2/3 cups packed dark-brown sugar 
1/2 teaspoon salt 
4 sticks (2 cups) unsalted butter, room temperature

1. Put egg whites, sugar, and salt into a heatproof bowl set over a pan of simmering water. Whisk until mixture registers 150 degrees, about 4 minutes.
2. Remove from heat and attach to stand mixer fitted with whisk attachment. Beat on high speed until stiff, glossy peaks form. Continue to mix on medium until the bowl is no longer warm.
3. Replace the whisk with the paddle attachment. Add butter slowly on medium-low speed.  Beat until frosting is smooth and glossy, 3 to 5 minutes. 

Buttercream can be refrigerated airtight for up to 3 days OR frozen for 6 weeks; bring to room temperature, and beat before using.


Allow a generous swirl of this frosting... it's so tasty, you're going to want extra. And trust me, that salty goodness is PERFECT with a Guinness Spice Cake and Bacon...


Cheers!!
bleu